The Secret to Installing Shiplap Cladding
Shiplap cladding is a popular choice for many DIY enthusiasts and construction experts due to the traditional aesthetic and prolonged durability that it can bring to a home. Installing Shiplap can be quite difficult, and requires both skill and the right tools to ensure it is installed correctly. In this guide, we explain the correct method of shiplap cladding installation with a step-by-step guide and talk about the essential cladding installation tools you need to make the process easier.
What is Shiplap Cladding?
Shiplap cladding uses individual wooden boards that layer together and have a slight overlap. Originally, it was the preferred method for weatherproofing external buildings such as barns, farmhouses and stables but it has become a popular interior design choice.
In modern homes, Shiplap is typically used in hallways and bathrooms to make a room seem larger than it is. Horizontal Shiplap is used to make a room look wider, whilst vertical Shiplap usually covers the top half of a wall and is used to make rooms look taller.
As well as the visual benefits of Shiplap cladding, there are many construction benefits that make it the favourite for outside structures.
Why is Shiplap Cladding Better Than Other Cladding Types?
When comparing Shiplap to Overlap cladding, there are many positives.
Overlap
Each piece of Shiplap cladding interlocks with each other, due to the rabbet. Unlike Overlap cladding, Shiplap cladding sits flat against the wall, preventing water from seeping in. As each board fits together, there is a slight overlap, which helps prevent leaking and prevents draughts during windy seasons.
Cost
Shiplap cladding is more expensive than Overlap cladding, but the extra security and visual appeal make it more popular.
Long-life span
Tongue & Groove cladding projects are more susceptible to rotting than Shiplap constructions. If left untreated, the wood used in Tongue & Groove projects can shrink over time, meaning boards may have to be replaced regularly.
Good quality Shiplap can last 40-60 years before issues arise when installed correctly.
Fitting Shiplap Cladding: The Essential Tools
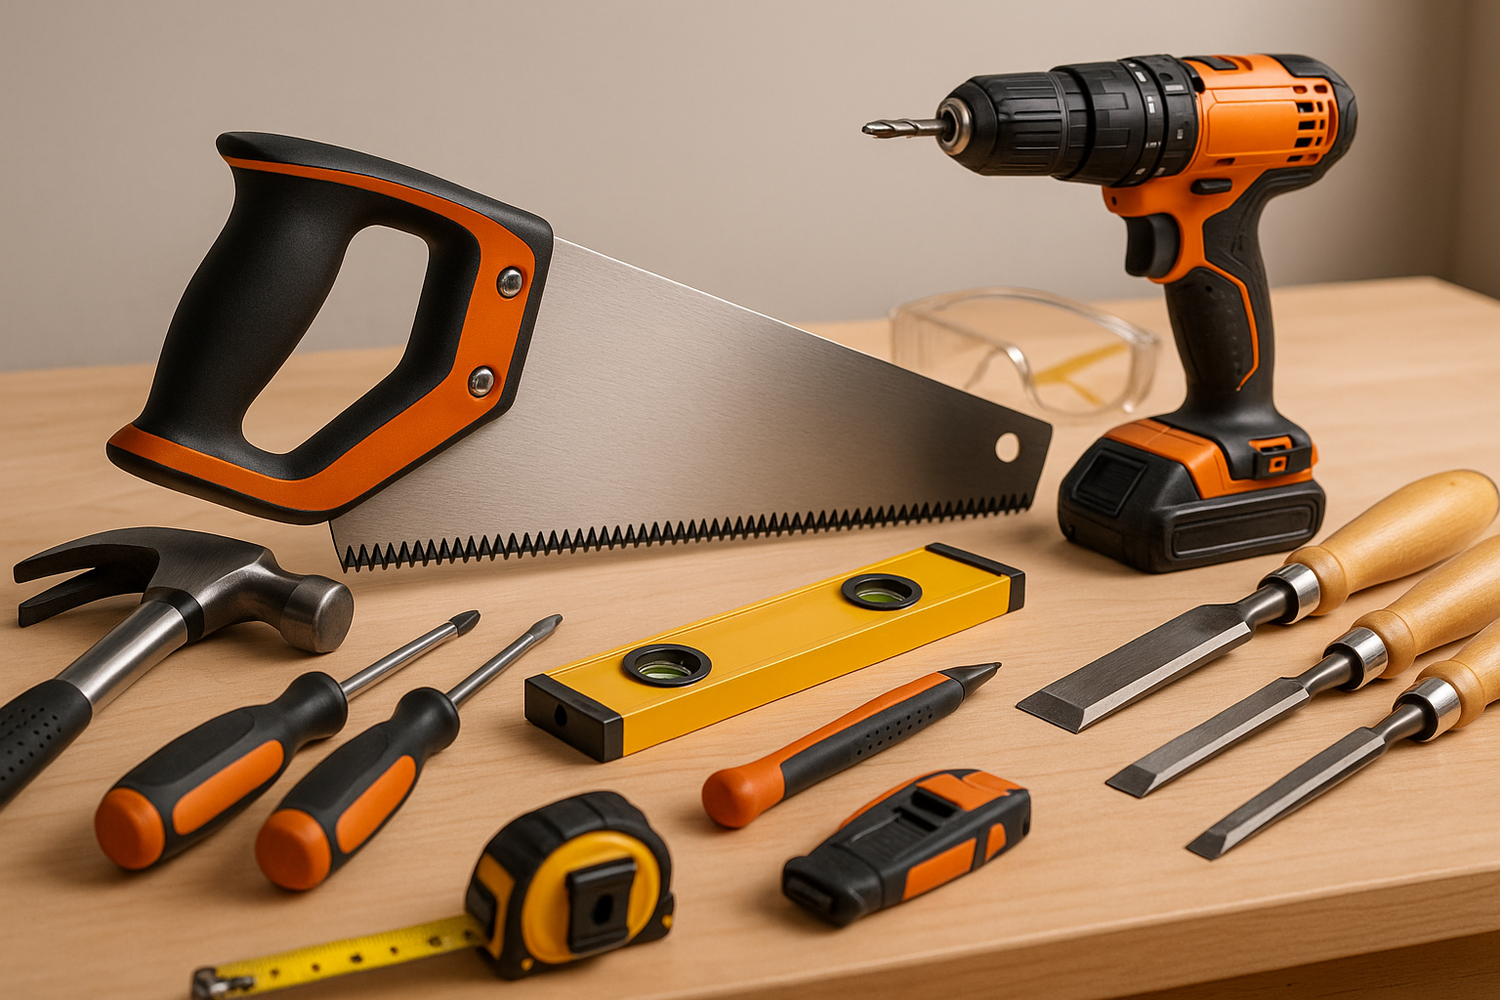
When preparing to start your project, it’s better to have everything you might need rather than the basics. Here’s a list of cladding tools and equipment we recommend that you should have before starting the Shiplap cladding installation process:
- Tape measure
- Saws
- The saw you use is up to personal preference. We recommend using a mitre, jig, or table saw as they provide the smoothest and straightest lines when cutting timber.
- Spirit level & string line
- Set square
- Nail gun
- Finishing nails
- Safety equipment
- Sandpaper or sanding block
- Wood filler
For more in-depth information about Shiplap cladding and metal cladding tools check out our blog.
How to Install Shiplap Cladding: A Step-by-Step Guide
1. Prepare the Wall Surface
Before you begin installing the shiplap cladding, you should start by removing any existing trim, wallpaper or loose paint from the building’s surface. You should also inspect the wall’s surface for any damage and repair it where necessary. Don’t forget to clean the wall thoroughly to remove dust and debris.
2. Measure and Plan the Layout of the Boards
The next step is to plan out the layout of your cladding boards. Start by measuring the wall’s height and width to calculate the number of boards needed. You should also leave a little bit of leeway to account for miscalculations and expansion.
This is also the time to decide on whether you want to complete a horizontal or vertical method of installing shiplap cladding. It is completely up to your personal preference as this is mainly for aesthetic purposes.
3. Locate and Mark the Wall Studs
Walls studs or battens are the vertical framing members in walls that are typically made of wood or metal. You need to locate these wall studs so you know whether to add more wall studs depending on the length and weight of your cladding panels. Simply mark each wall stud and refer back to your plan to see if you will need to add any battens in between to provide extra support.
4. Cut the Shiplap Boards to Size if Needed
Next, you will need to measure and mark the boards for cutting. We recommend you use a mitre or table saw but a standard saw can also be used. For more intricate cuts, it may be easier to use a jigsaw.
5. Apply a Moisture Barrier if Needed
In areas where you are likely to get damp, you should install a moisture barrier like building paper. This can be easily stapled or nailed into the wall. Remember to overlap any seams for maximum protection.
6. Start at the Bottom
Now that you have planned your layout and prepared the wall, it is time to get started with the shiplap cladding installation. Starting from the bottom, you should use a level to draw a straight line for the first row. This will ensure your cladding remains level as you go up.
7. Secure the First Board
With the use of nails and your nail gun, you can begin to secure the first board. Nailing shiplap cladding is easy! Simply, place the first board along your level line and nail through the face of the board, straight into the wall stud. This will provide a secure bond between the wall and board.
8. Continue Fitting the Boards
With the first board successfully installed, you can slowly work your way up the wall. Slide each board’s groove over the previous board’s tongue and make sure there is a tight fit between the boards. You can then secure the board into the wall stud when it is in place. Don’t forget to check each board is level!
9. Cut Around Any Windows or Outlets
From your earlier plan, you should have marked and cut the boards that will go around obstacles such as windows. You should then test fit these before nailing it in place.
10. Finish the Top Row
Measure the remaining space for the last cladding board and cut it to fit if needed. You can then secure it in place with nails and your project is finished!
Frequently Asked Questions
Are there any disadvantages to Shiplap cladding?
Unlike Tongue & Groove cladding, Shiplap cladding tends to collect dust and dirt in the grooves between each connection. As it is not completely flat, it can be difficult to clean completely.
If not installed correctly, Shiplap cladding is at risk of moisture damage.
Can I use the same tools for timber and metal cladding?
Whilst some tools are suitable for both timber and metal cladding, we do not recommend using Jigsaw tools to cut metal. They can be difficult to control and produce lower-quality work.
How do I know how much timber I need?
- Work out your area in square metres by multiplying the width and length of the space.
- Work out the linear metres by dividing the m² by the width of your board. Make sure to take the overlap of each board into account.
- Divide the linear metre figure by the length of the board to determine how many boards you need
- It is then recommended to multiply this number by 1.1 to allow for any waste.
Where to nail shiplap cladding?
You can nail shiplap boards at the face or in through the tongue depending on your preferences. We recommend you face nail shiplap cladding as it means you can ensure the nail goes straight through the cladding board and into the wall stud, providing a secure bond.
Buy Cladding Tools for Your Next Project
There’s no need to call the shiplap cladding installers! You can take on this project with the help of our step-by-step shiplap cladding installation guide and buy or hire any of the equipment mentioned above from us. We stock a full range of power tools and cladding equipment for you to choose from.
If you’re unsure what tools would be best for your cladding project, speak with a cladding expert today to take the next step towards your installation.
Learn more about cladding tools
Get insight into what you might need before you take on your next cladding project. Here are some helpful guides to get you started and moving in the right direction:


