Shed Cladding Options
There are a few different cladding options you could use for your shed project. The two core categories are overlapping cladding and tongue and groove cladding. Overlapping cladding is placed so that the timbers overlap, allowing for water runoff. Tongue and groove cladding boards, on the other hand, interlock. This produces a sturdy structure and prevents water from getting through.
Shiplap Cladding
Shiplap cladding combines a great overlapping look with the durability of a tongue and groove style design. It offers a weatherproof and breathable solution and can contract and expand without warping. Shiplap fits together with L shaped notches positioned at the top and bottom of the panels. With a channel in each board, shiplap also offers good water runoff. Although shiplap is not the cheapest cladding solution, its functionality and sleek look make it a popular shed choice.
We will be looking at Shiplap cladding in this guide.
Breathable Membrane
Before you begin your cladding installation, consider installing a breathable membrane. A membrane will add extra weather protection preventing rain from getting into the shed. It will also help moisture in the shed to escape.
How To Install Shiplap Cladding
Installing Shiplap is fairly straightforward, and we have broken it down into a few simple steps. Follow the process below, and you’ll have your shed ready to go in no time.
Measure
As with all woodworking projects, measurements are essential. Getting your measurements right is the key to a successful shiplap cladding installation. To start, measure the distance for your first row. The length may be too long to keep the joint in the centre of the stud. In this case, measure for two boards instead.
Cut and Sand
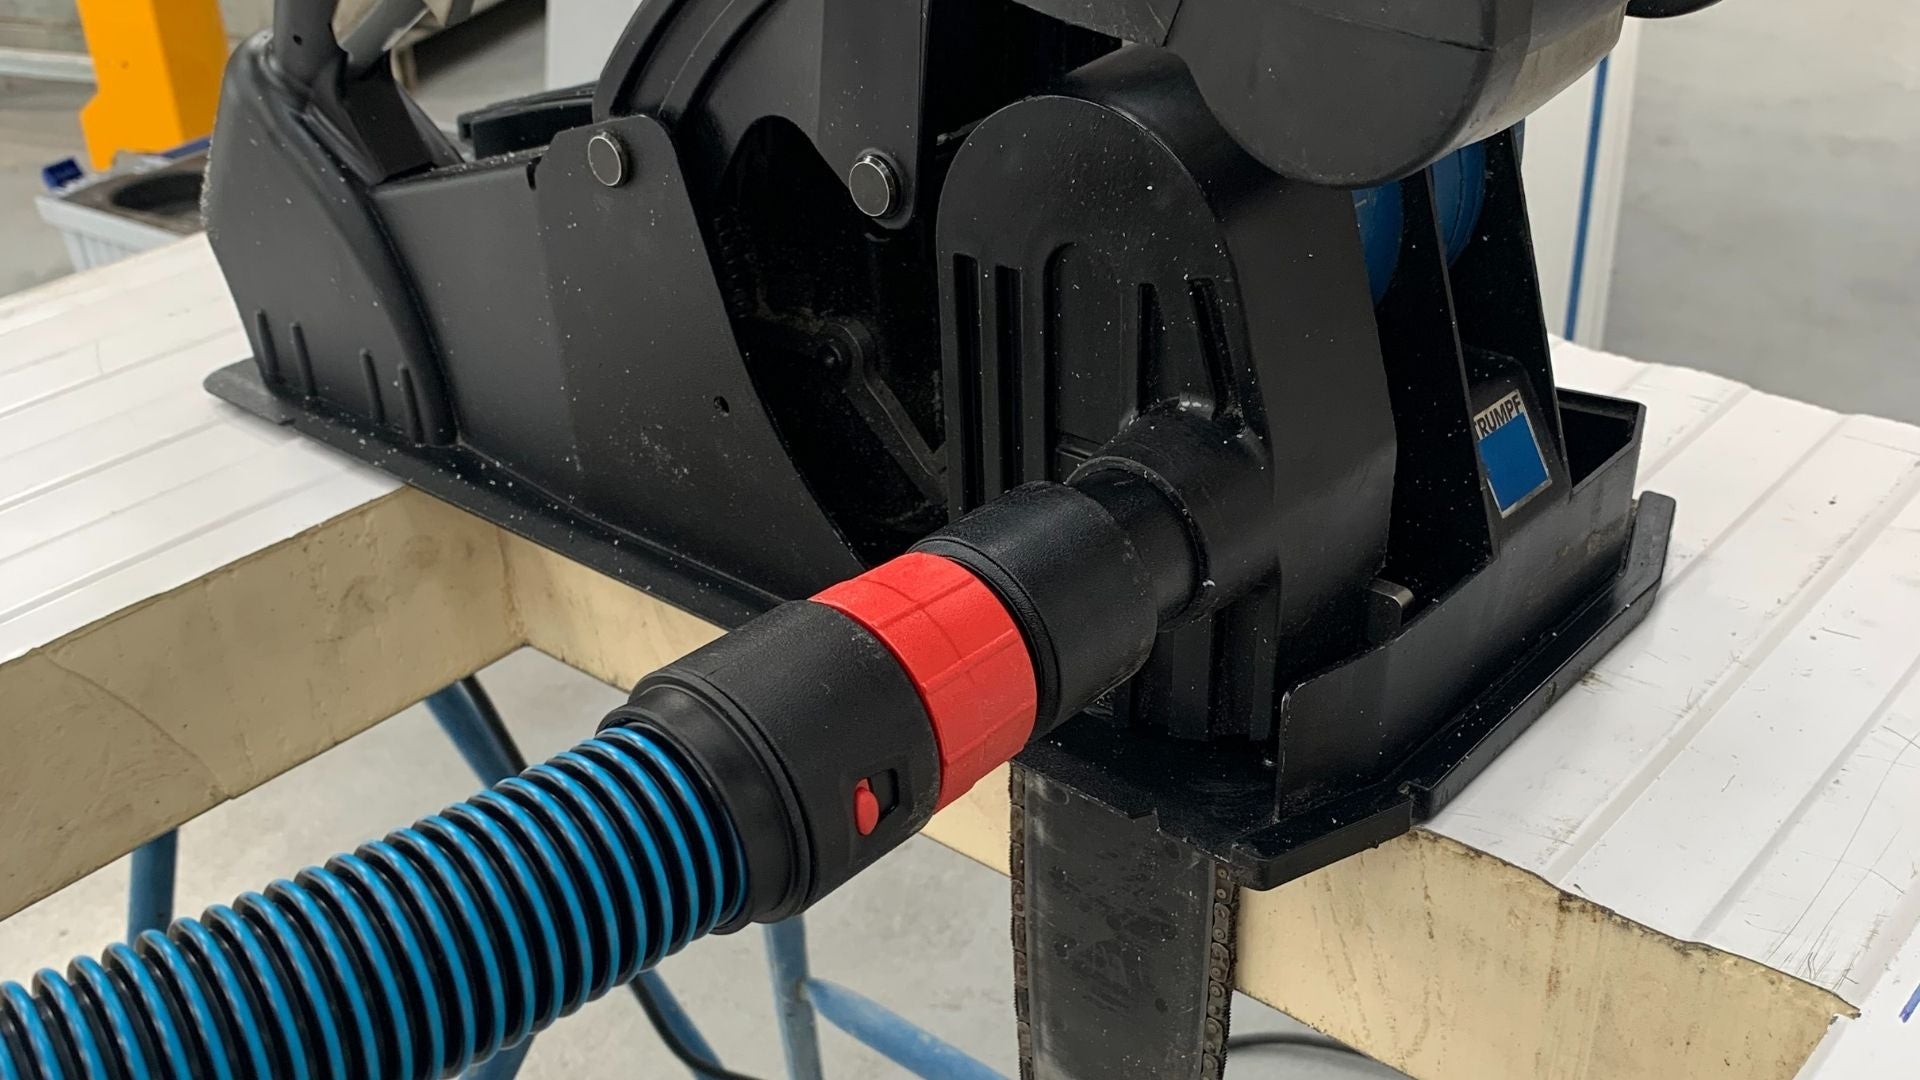
The next step is to cut your boards. You can do this with a circular saw, but a specifically designed cladding cutter will produce better results. If you notice splintering on your boards, simply sand down the sides. Measure and cut as you go rather than cutting all your boards upfront. This will ensure your measurements are accurate. You may find small variations in the required length.
Place The First Row
Once you have measured and cut your first row of boards, you can position them at the base of the wall. You can use nails to hold the boards in place temporarily. Use a spirit level to check they are level and positioned correctly. Secure them in place once you are happy with the positioning. To secure the boards, hammer the nails through the top of the boards and into the studs.
Secure The Remaining Rows
Use the next row to cover the nails and fasteners. This will give a much nicer, cleaner look. Repeat the previous stages with each row. Measure, cut and position the boards to account for length discrepancies to maintain a sleek look. You can secure the remaining rows with galvanised nails.
Apply Finish
Once you have secured the boards, finish by applying a primer. This will heighten the look. Take it a step further and add a UV-resistant exterior acrylic to extend the lifespan of the cladding so you can enjoy your shed for even longer.
Shed Ideas
Now you know how to clad your shed, let's look at why you should. Cladding will improve both the look and weather resistance of your shed. And you are going to want to protect it because we have some great alternative uses for your shed.
Mancave
The people often build their mancave in the spare bedroom or the loft. But why not take it outside? The shed is ideal for making a cool man cave filled with everything you want. If your shed is big enough, you could even put a pool table there. And you don't have to forgo your tech either. You can connect your shed to mains electricity (get a professional to do this) and have your own space to boot up your PC or games console.
Woodworking Workshop
What better use for a DIY project like cladding a shed than using it to work on other DIY projects. Are you the hands-on type? Do you always have a project in the works? Instead of constantly moving your projects out the way and moving tools back and forth, give your creativity its own home. Add in a workstation and some storage, connect to the electricity, and you're ready to go.
The Ultimate Tool House
Maybe you're thinking, "I already keep my tools in the shed". But we're not simply treating your shed as a bit of extra storage with everything from bike pumps to garden hoes piled in. Let's use this space to get things in order. A shed is perfect to create a well laid out and properly organised home for your tools. Get yourself some draws, shelves, tool racks or pegboards, and you're well on your way to the ultimate tools house. Making these storage solutions could even be your next DIY project.
Should You Upgrade Your Shed?
A shed is a perfect space for many purposes. The ones outlined above are great, but these are just a few brilliant ways to utilise a shed. However you decide to use your shed, it is vital to make sure it's sturdy and weather resistant. Cladding is key to this, so we recommend making it your next DIY project.


